How to Sew a Flag by Hand
Flags are a great way to show your allegiance, whether itÔÇÖs to your sports team or a local club. Holding a colorful flag high over your head at the game helps you stand out as a superfan. Hanging a flag outside the home can show your patriotism or even help create a theme for a special event. Learning how to sew a flag by hand gives you the crafting skills to create your own beautiful flags for any occasion or cause.

How to Sew a Flag: The Basics
There are a few things you need to decide before you start planning your flag-sewing project:
- How big does the flag need to be?
- What design does it need?
- What material will you use?
- Have you got a space to spread out the flag and store it rolled once it’s complete?
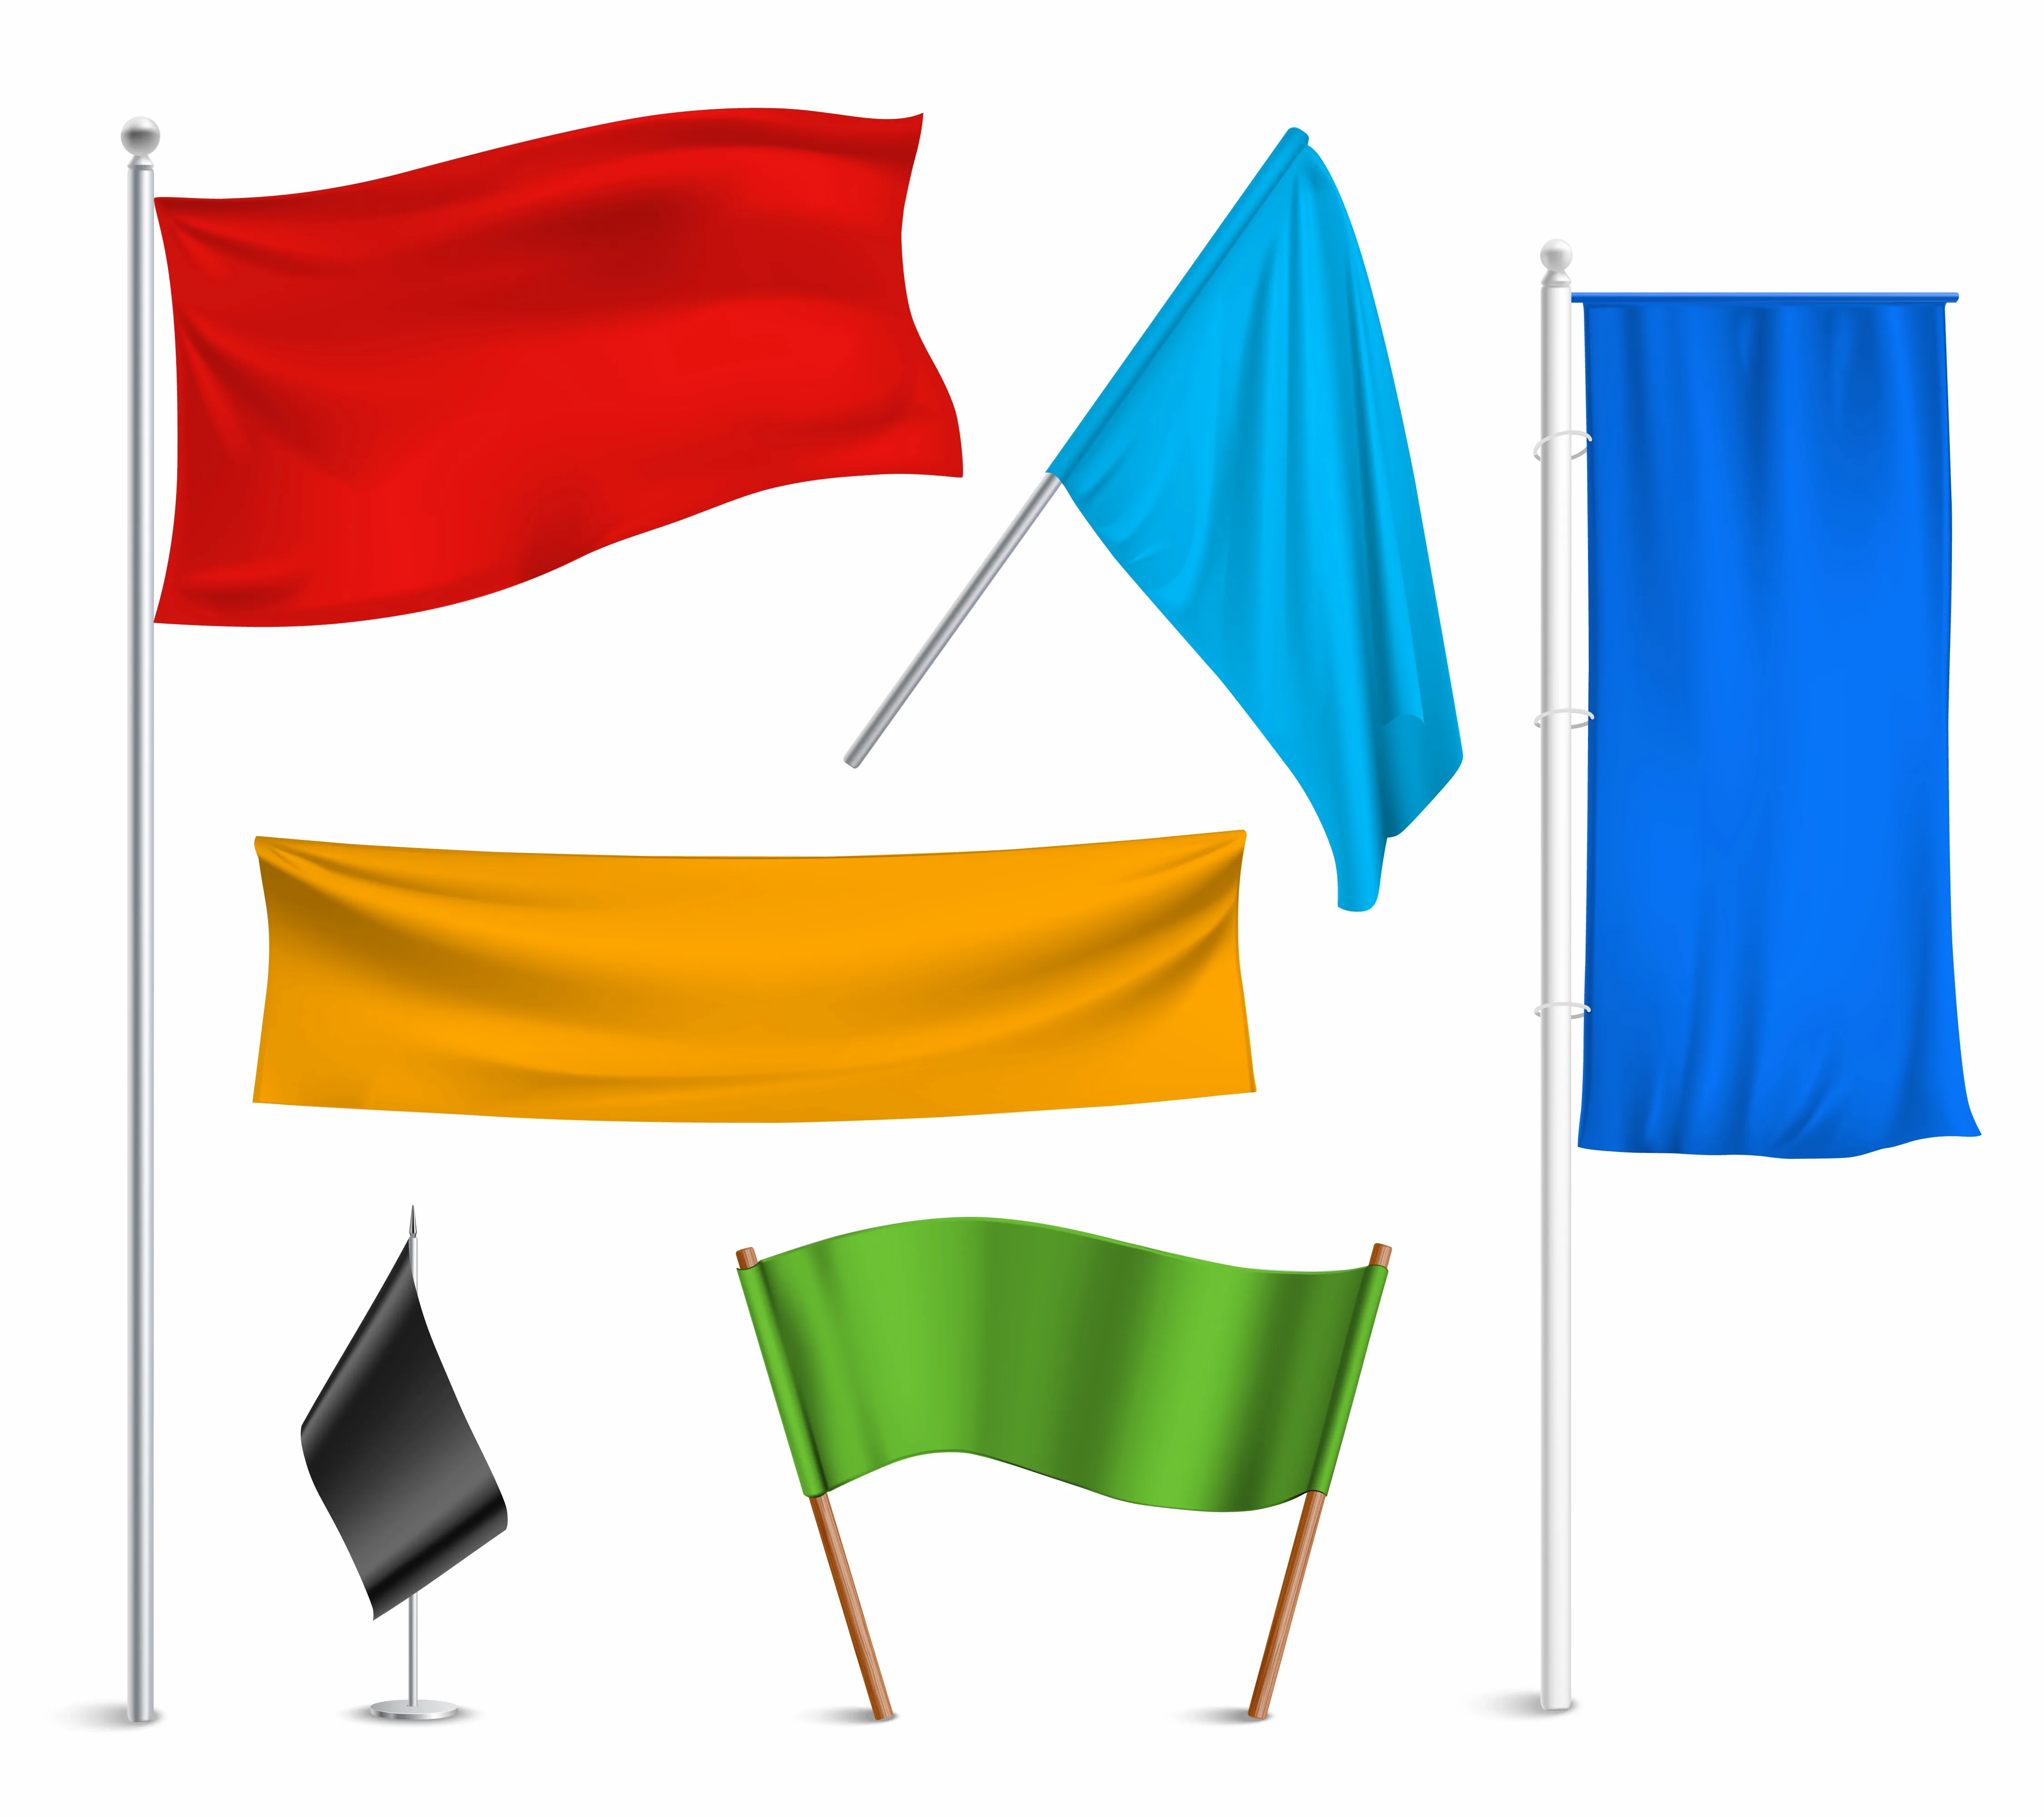
The size of your flag depends on how you want to use it. Small, handheld flags are great if you have a big group of people attending an event. These often require very little sewing and can even be a group project for your club or team. Larger flags take more time and care, but will certainly stand out more.

Your design should be something you can easily embroider or create with pieces of fabric. You could also invest in a sublimation printer and heat press. Sublimation ink creates designs that you can heat press onto fabric. Note: Some people try to use an iron or hair dryer as an alternative to a proper heat press. These devices don’t provide the temperature necessary to fully transfer the design and can spoil your flag.
Flag materials can be just about anything as long as the end product moves how you want and is easy to carry. For example, if you want your flag to move easily with the wind, canvas is not a great choice. Many flags are made of nylon thanks to its durability and ability to retain color. Polyester is another common choice. Both materials are lightweight and easy to work with. Your local fabric store or craft outlet should be able to provide good advice on fabric choices.
Storing your flag is probably the simplest challenge. If you plan to hoist your flag on a proper flagpole, you only need storage space for the folded material. The same applies to large “crowd flags” held up by several people. If your flag has a pole attached, however, you must ensure you have space to store both fabric and pole(s) before starting your project.

How to Sew a Flag: Your Step-by-Step Instructions
You will need:
- Fabric for your flag
- Thread, ideally matching the color of the fabric
- Fabric scissors
- Iron
These are the basic tools for making a single-color flag. You may also use fabric chalk or a similar marking device to show where additional fabric can be sewn to the flag to make a design. You can also replace any of the hand stitching with sewing-machine stitching to save time. Follow these steps to make a basic, one-color flag.
- Create a design that shows the exact measurements of the flag you want.
- When you measure your fabric, add half an inch at every edge on top of the measurements in your design.
- Also, measure out two right-angled triangles of the same color fabric that should take up no more than 10% of the length or height of the flag.
- Carefully cut your fabric.
- Iron the fabric until it’s perfectly flat and wrinkle-free.
- Lay it on a flat surface.
- Fold each edge in by half an inch and pin carefully.
- Sew a neat, straight stitch along each edge. This prevents your flag from fraying.
- Line up each triangle with the corners of the flag where you are likely to attach a pole, cord, or other method of flying the flag.
- Carefully stitch the triangles in place to reinforce these corners. Option: If you want, you can reinforce all four corners, but the flag won’t be as mobile in the wind.

This is your basic flag. At this point, you can lay the flag out flat and either pin it to your craft table or weigh the corners down. Trace your desired design onto the flag, and cut fabric in the appropriate colors, shapes, and sizes.
Carefully pin the fabric designs to the flag and stitch them in place. Alternatively, you could use fabric paints or pens to create your chosen design.
If you want to hoist your flag, you’ll need reinforced holes on one short side of the flag. You may be able to purchase grommets from your local craft store. You can then cut two holes in one side of the flag that match the size of the grommet and push the grommet into place. A hole punch and pliers help with this. Grommets allow you to hang the flag from clips, hooks, or most pole attachments.

You can also create loops with cord or rope, or even a folded piece of fabric stitched onto each corner to create a custom loop.
A Simpler Alternative to Learning How to Sew a Flag
Sewing is fun but time-consuming. If you’re too busy to learn how to sew a flag or simply don’t fancy getting crafty, Custom Flags Now is the solution. We provide custom flags, banners, and displays for all occasions, from single handheld flags to massive crowd flags sure to get you spotted at the big game. With a huge range of sizes and designs, we can cater to any custom flag needs. Simply call us at 1-877-204-8541 or browse the website for more options.